User Guide
A complete tutorial regarding how to use GoSurvey. We have covered and explained everything related to the working of GoSurvey and its features.

How to view Spatial Report?
Spatial Report shows each response that has a location as a pin on a map. Nearby pins are grouped. Click a pin to see that response.
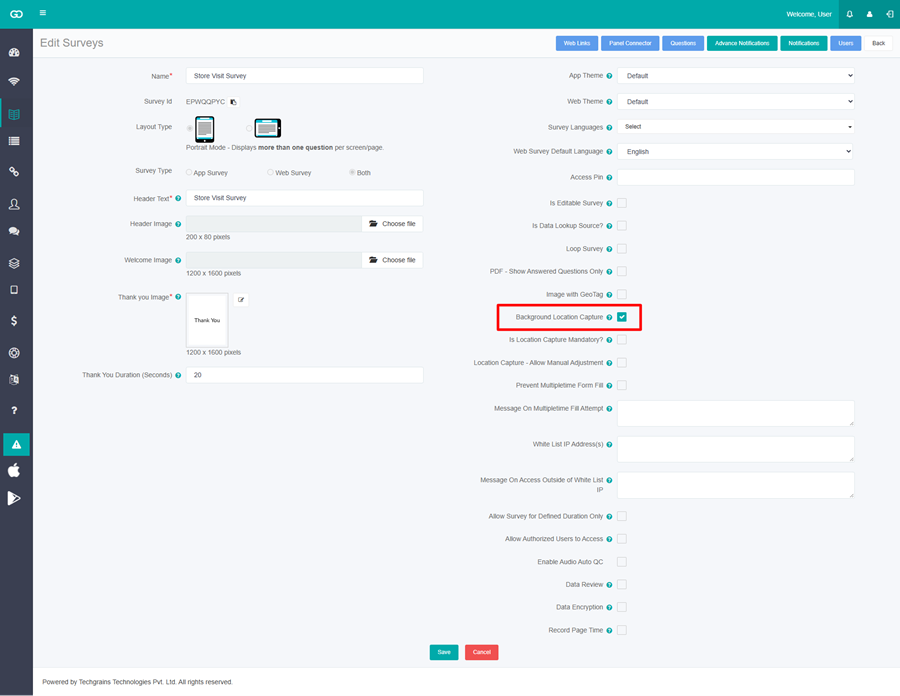
The report is available when the survey has a Location question, or when Background Location Capture is checked. Background Location Capture is on the survey edit page for an App Survey or a survey whose Survey Type is Both.
Step 1:
Open the survey in Edit. Check Background Location Capture, or add a Location question. Save the survey, then save the questionnaire.
Example survey: Store Visit Survey. Question text: Store location. Question type: Location.
Step 2:
Collect responses that include a location.
Step 3:
In the left menu, click Data. The page title is Survey Data.
Step 4:
In the Spatial Report column, click the location icon for the survey.
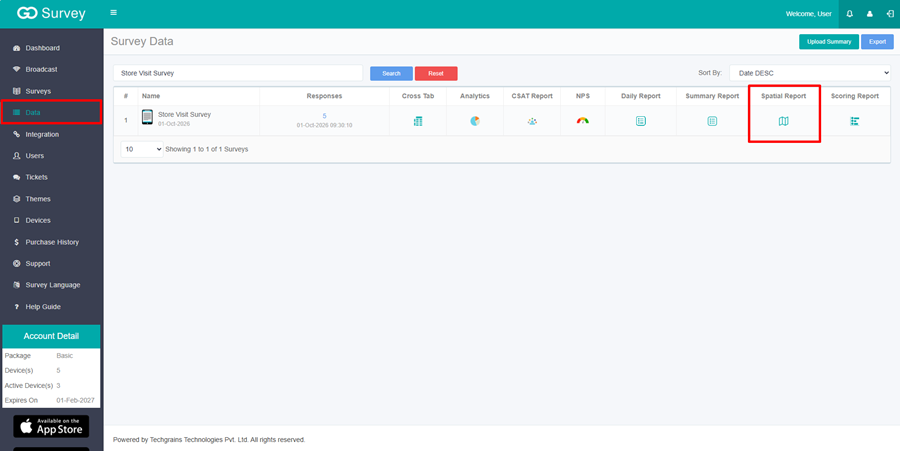
The icon can be clicked when the survey has responses and a location is part of the survey. The screen title is Spatial Report, followed by the survey name.
The map opens with a pin for each response. The number of responses is shown under the map, for example 12 Response.
If no response in the selected range has a location, the screen shows: No Data Available.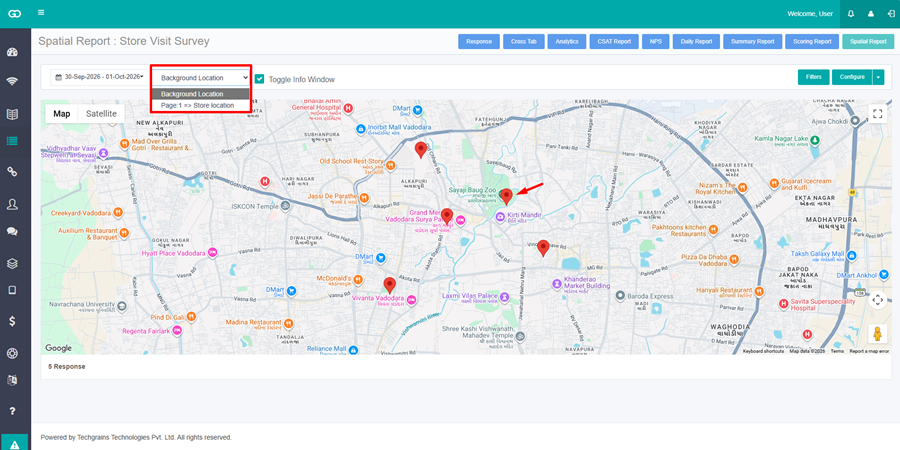
Step 5:
Click a pin.
The window shows ID, then the fields selected in Configure Fields, and More Details. More Details opens that response.
Toggle Info Window is checked when the report opens. With it checked, one window is open at a time. Clear it to keep a window open on more than one pin.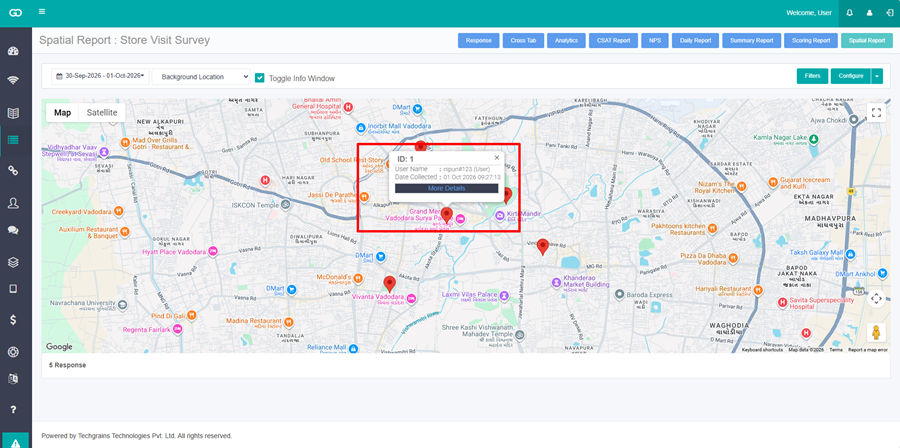
Step 6: Filters.
The date range is at the top left. Filter by the date range.
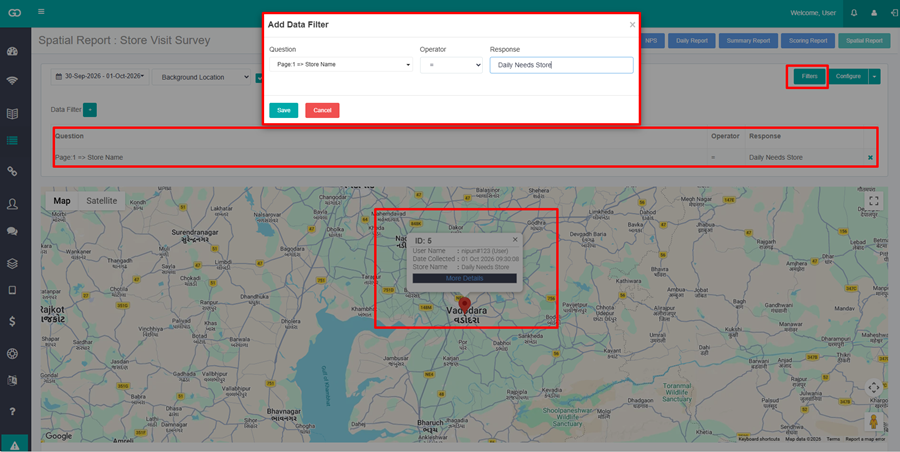
Click Filters.
- Select User limits the map to one user.
- Each survey filter, such as state or city, has its own list.
- Data Filter limits the map by an answer. Click +, then set Question, Operator, and Response.