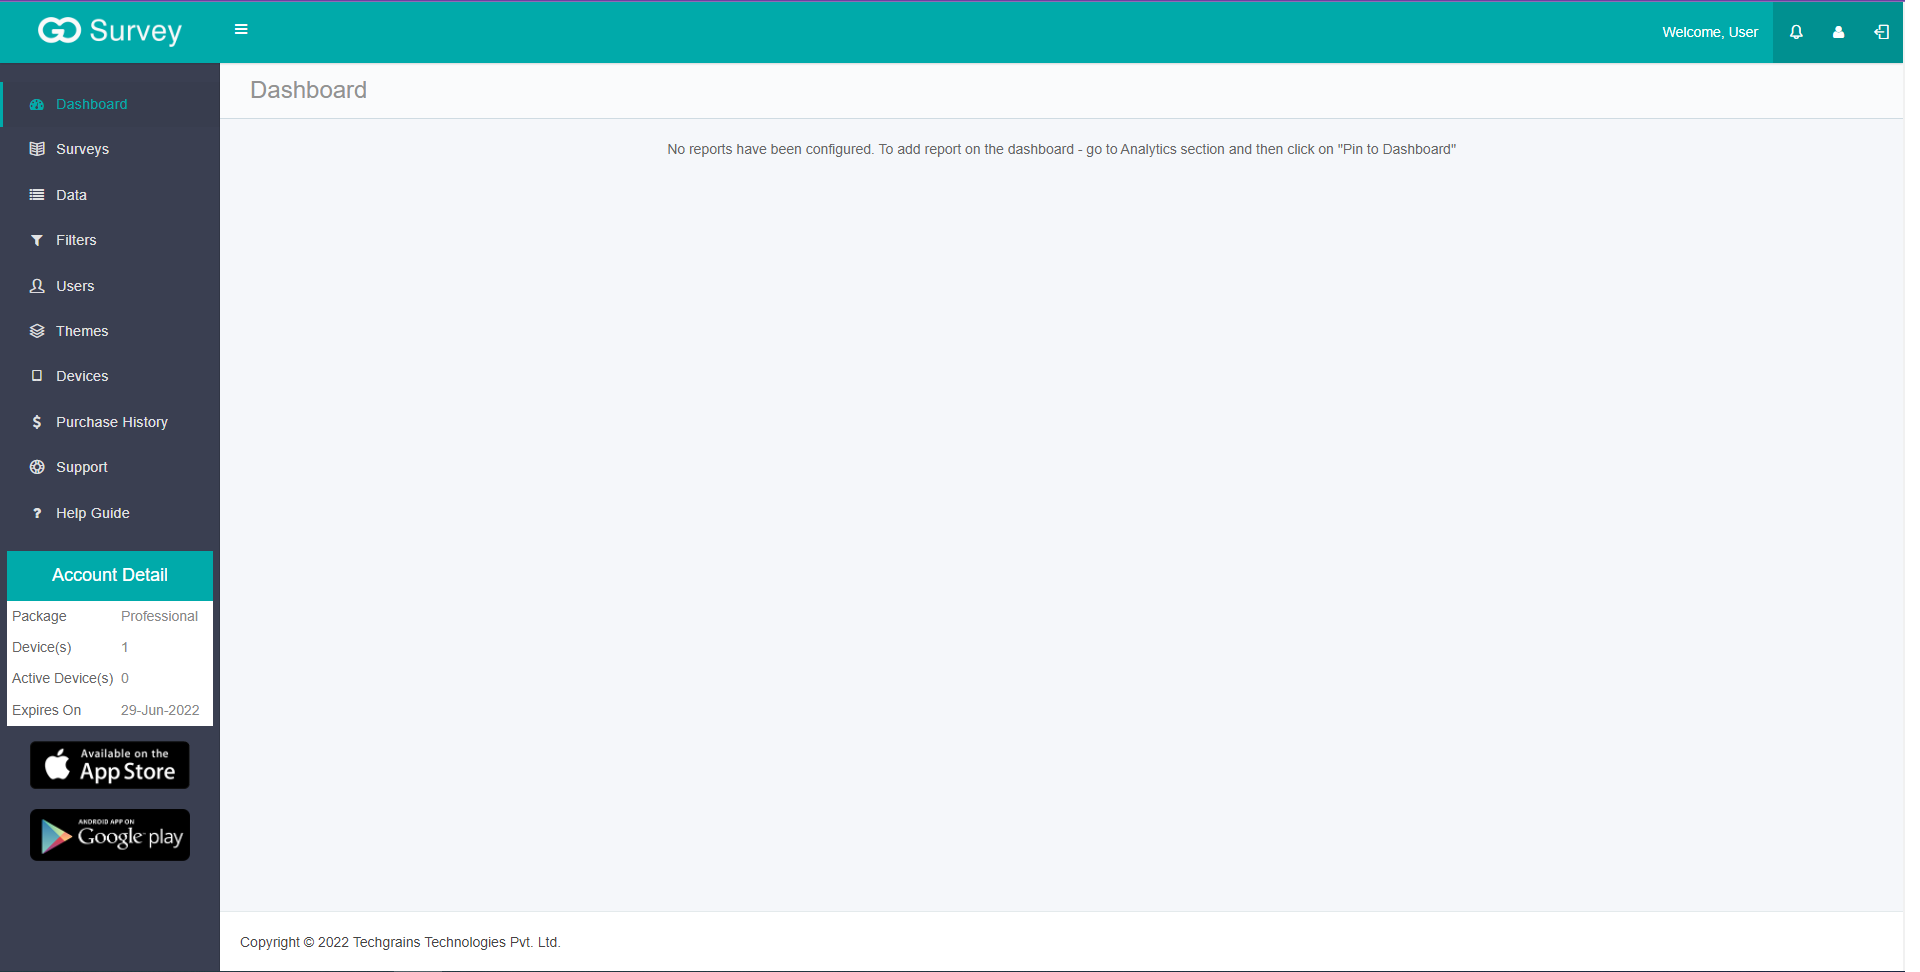
Login to the GoSurvey admin site by using the same credentials that were set up while creating the account. Once logged in, the user will arrive at the dashboard.
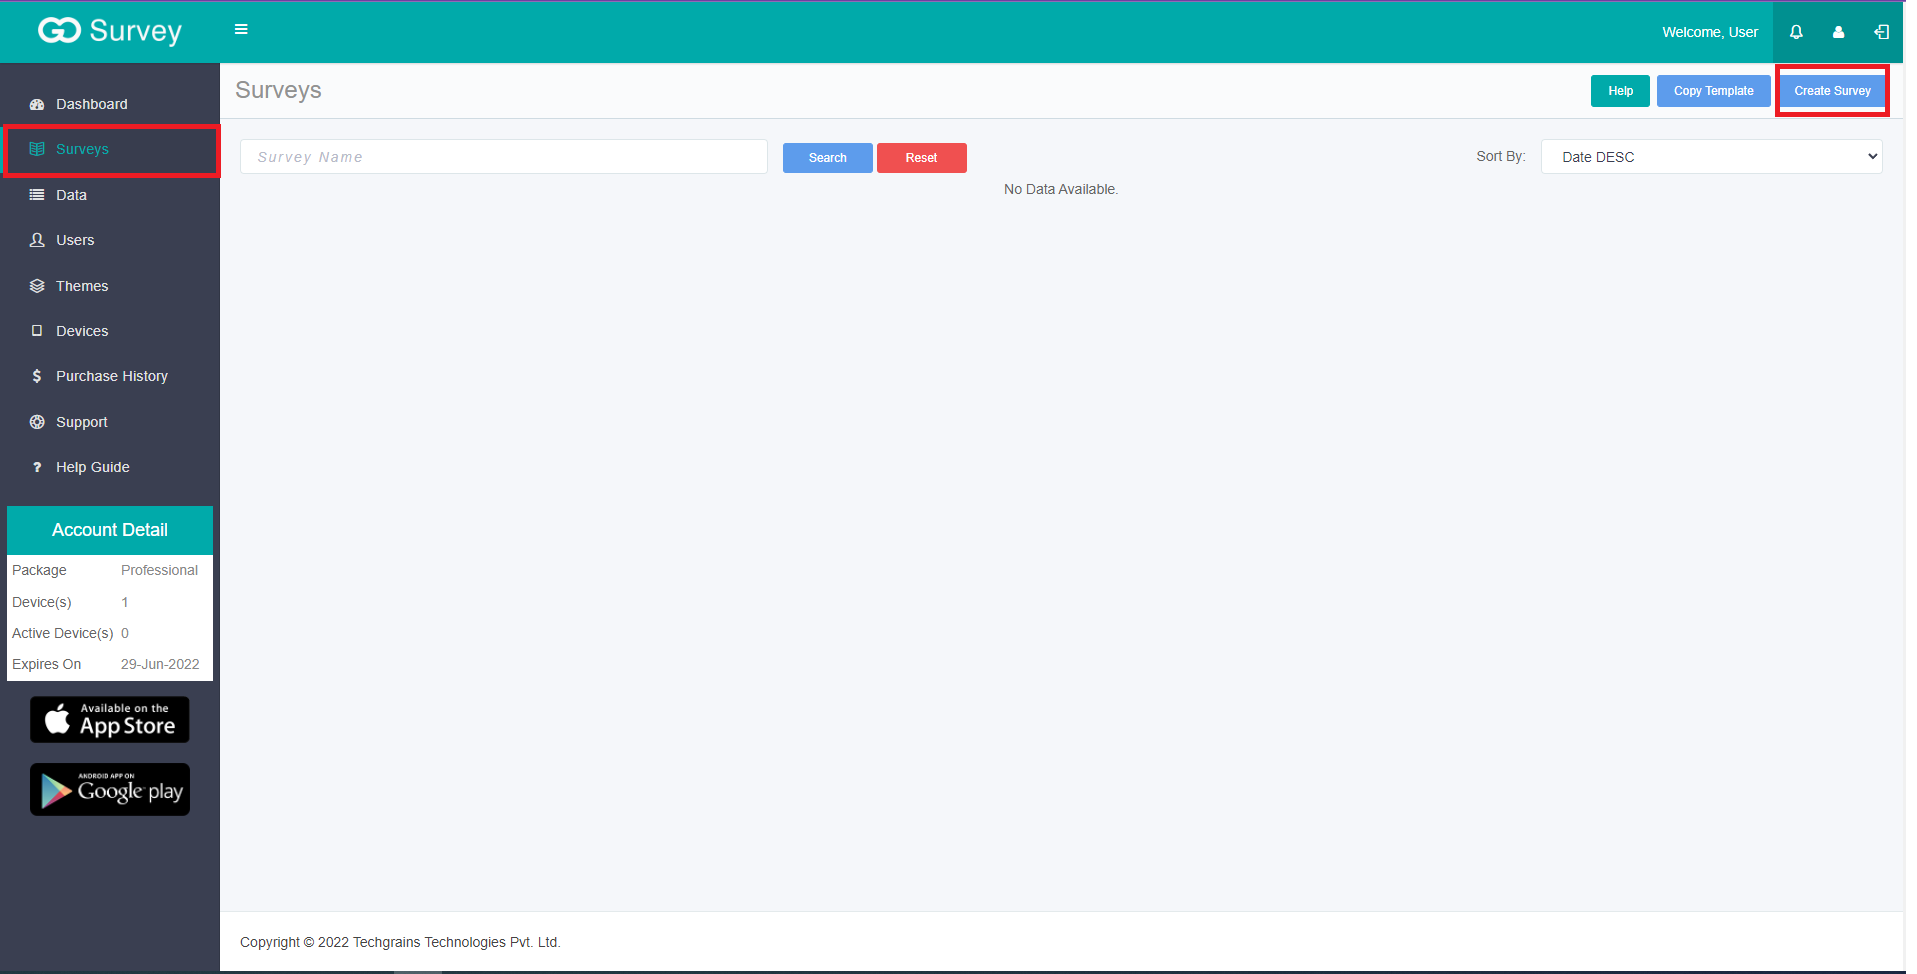
On the left panel, click on the Surveys option. The user will arrive at the Surveys list view. Click on the Create Survey button at the top-right corner of the view.
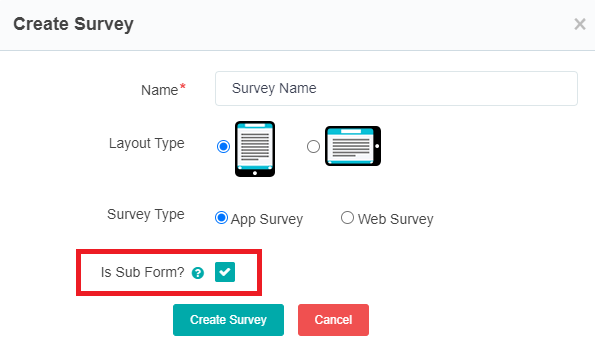
Create Survey dialog box will be prompted as below:
Enter the following details in the dialog box:
- Name Enter the desired name for the survey.
- Layout type There are two layouts available
- Portrait
- Landscape
- Survey Type
Select App Survey - if survey is to be conducted through GoSurvey app or Web Survey if survey is to be conducted as an online survey by providing the survey link to respondents. Using the GoSurvey app, the data collection can be done in offline mode too. The app can be installed from Play Store for Android handsets and from App Store for iOS handsets.
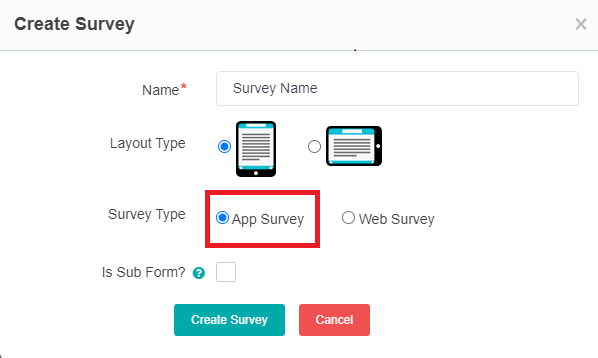
- Is Sub Form?
This survey will be available to configure as a subform.
This question type is ideal for collecting data that gets repeated every time or with each collection. A Sub Form is considered to be a part of the main survey form or the parent survey form.
Note - Subform option is available for App Survey Portrait Mode only.
After entering the details, click on the ‘Create Survey’ button.
First, suppose the user selected the ’App Survey’ and created the survey. The following screen would appear to fill ‘App Survey’ details accordingly:
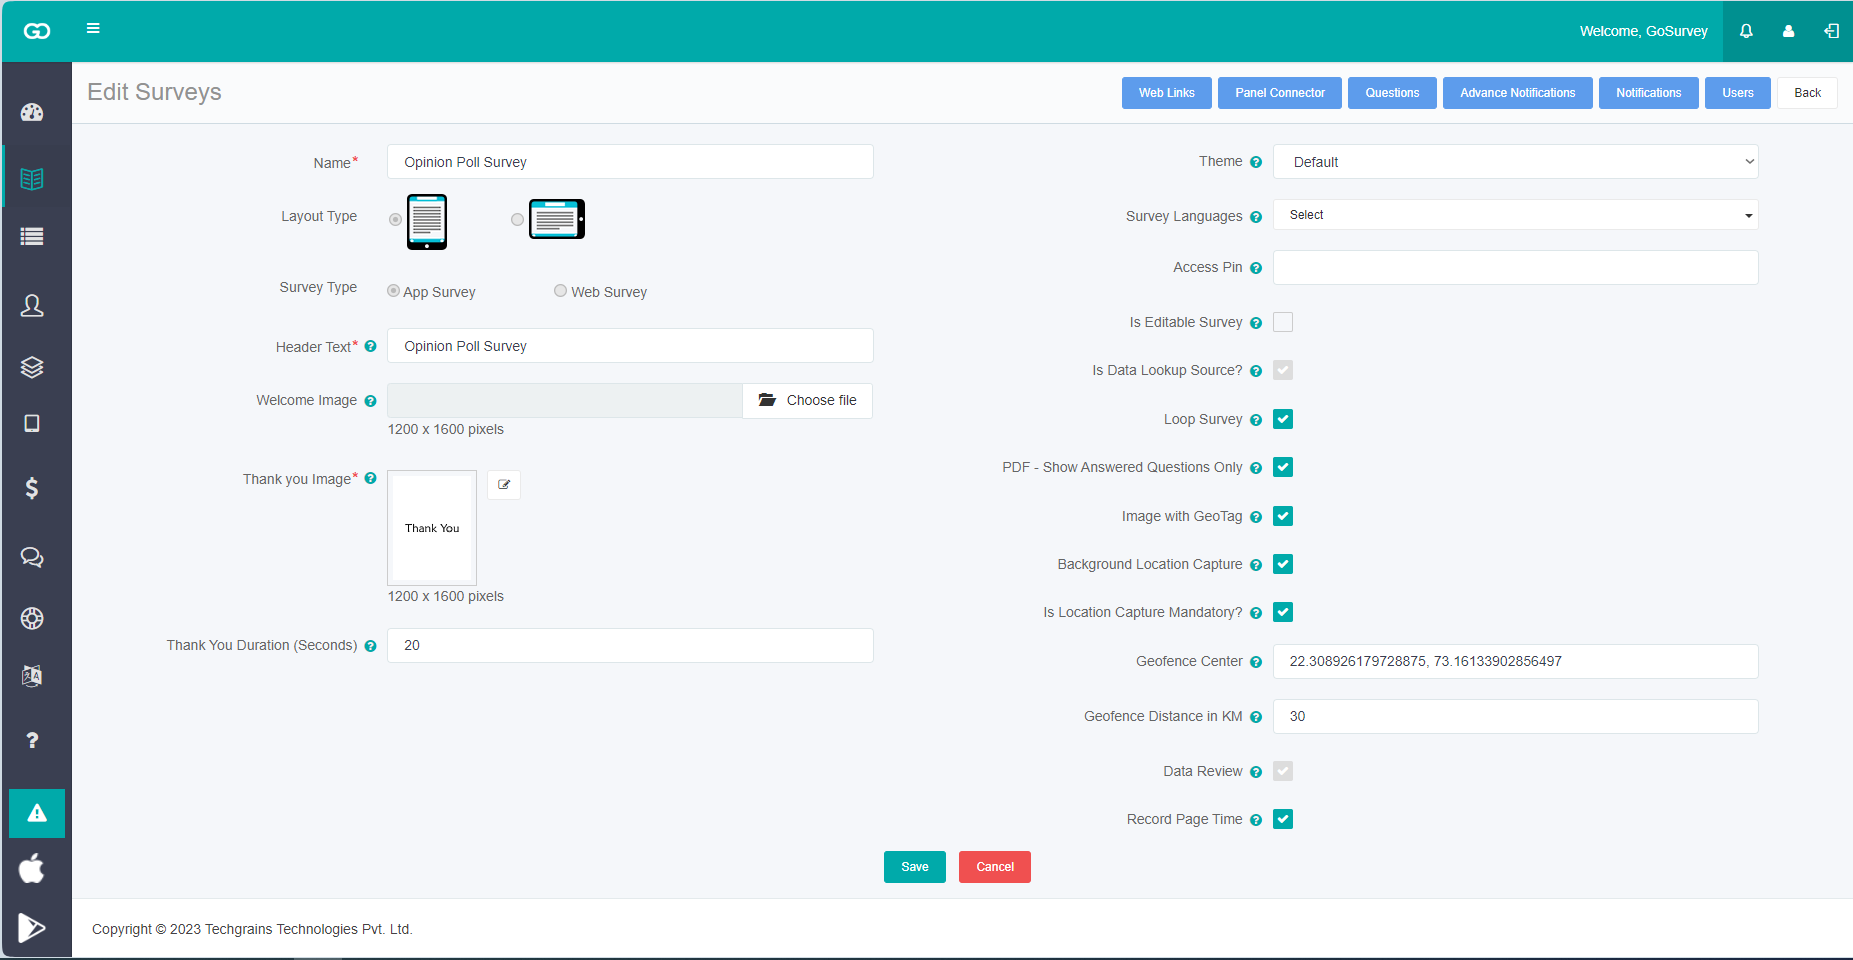
Following are the fields to be filled :
- Header Text The survey header text will appear as the heading of the survey form.
- Header Image This image will appear in landscape mode only. Here you can add the logo image. This will be displayed at the top-right corner of every screen.
- Welcome Image This image will appear as the first screen of the survey. The image size should not be more than 2MB. Below are the recommended dimensions of the image for the best view:
- Portrait - 1200 x 1600 pixels (Width x Height)
- Landscape - 1600 x 1200 pixels (Width x Height)
- Thank You Image This image will appear after the survey is completed. The image size should not be more than 2MB. Below are the recommended dimensions of the image for the best view:
- Portrait - 1200 x 1600 pixels (Width x Height)
- Landscape - 1600 x 1200 pixels (Width x Height)
- Thank You Duration (In Seconds) Duration can be set in seconds up to which the Thank You screen will be displayed. This option is valid only if the “Loop Survey” option is enabled. After the defined duration, the user will be taken to the survey start screen.
- Theme This configuration provides the option to set the colors for different components of the survey questionnaire. Select the theme for the survey by selecting any one from the drop-down list. Choose “Default” to have the default theme. If the user wants to create their own theme, select the Themes option from the left panel.
- Survey Languages Helps in selecting multiple languages for the survey listed in the dropdown. You may Refer to the guide here.
- Access PIN A numeric 4-digit access PIN can be set. When enabled it will ask for the PIN if the user/respondent tries to exit the survey without completing the survey. This option is valid for the surveys that are conducted in the GoSurvey mobile application.
- Default Language By Default, it will be selected as ‘English’. Languages can be added from the ‘My Profile’ section and one of them can be selected for a particular survey. The error messages and labels will be displayed in the Web Survey as per this selected language. GoSurvey has French, Portuguese, Español, Arabic, Swedish, Danish, Persian, Gujarati, German, and Türkçe language options in addition to English.
- Is Editable Survey The partial form feature allows you to preserve and store survey forms that are not yet fully completed. You may refer to the guide here.
- Is Data Lookup Source The "data lookup" feature enables users to search for a specific record within a database. You may refer to the guide here.
- TimeOut Seconds Restart the survey if it has been inactive for a specified amount of time(in seconds). Ideal when using a tablet in a kiosk.
- Autosave on Timeout If enabled, survey data will be auto-saved when the timeout happens.
- Loop Survey Enabling this option will automatically redirect the user/respondent to the survey start screen after they complete the survey. The time duration for the same is defined in the “Thank You Duration”. If this option is not selected, the user will remain on the “Thank You” screen and the user has to click “Start Again” to start the survey.
- PDF - Show Answered Questions Only If selected, It will export only those question's responses in PDF which are answered. If a given question is not visible due to conditional logic, it will also be excluded from the pdf provided this option is selected.
- Image with GeoTag If enabled, it will capture location coordinates with a photo capture question in the survey.
- Background Location Capture Selecting the checkbox allows the background location capture of the survey.
- Is Location Capture Mandatory Selecting this checkbox will force the user to provide location access permission.
- Geofence Center This is where the location coordinates(latitude, longitude) are entered and where the data collection will take place. You may refer to the guide here.
- Geofence Distance in KM Here the radius distance in kilometers is entered from where the center location of data collection is recognized.
- Data Review This will help users to review individual responses to look for any human error, or any misplaced answers or to see if answers are all entered or left unanswered. You may refer to the guide here.
- Record Page Time This helps the user to get the duration spent by respondents on a specific page.
Step 5:
Now, suppose the user selects the ‘Web Survey’ (Available in Professional Plan) and creates the survey.
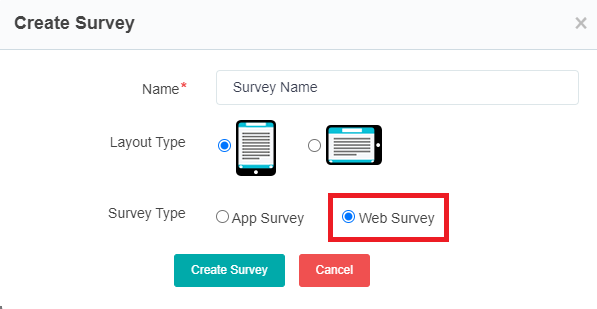
The following screen would appear to fill ‘Web Survey’ details accordingly:
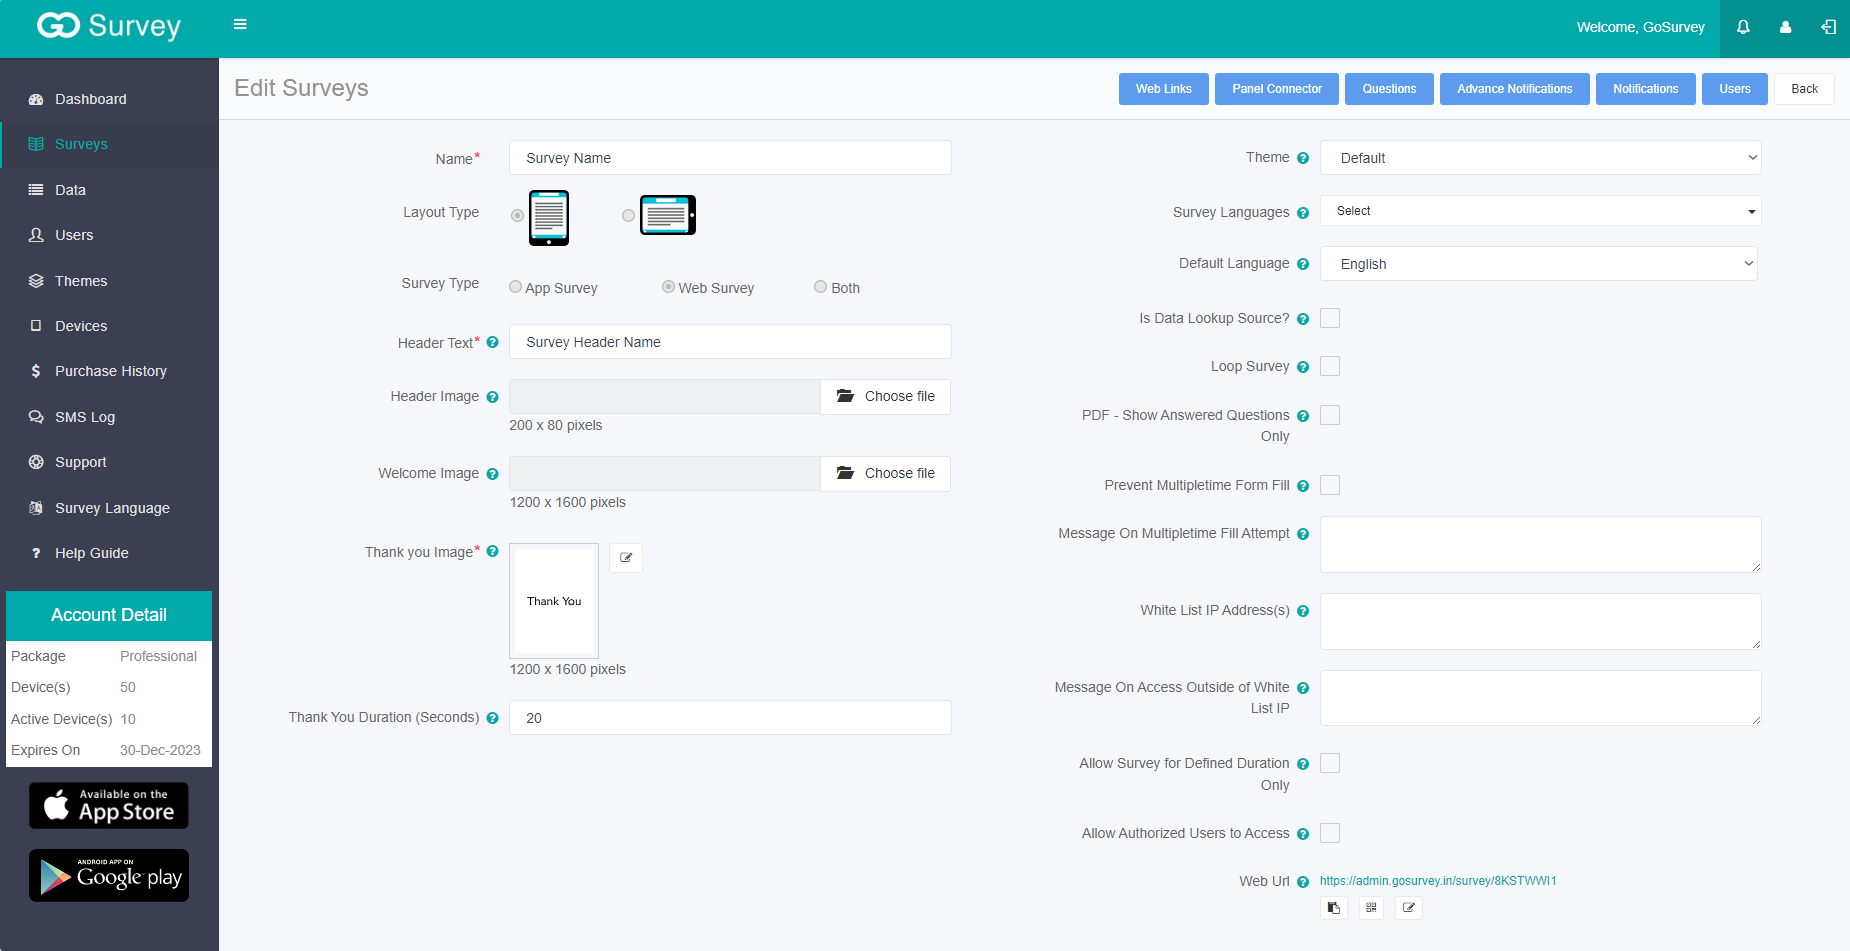
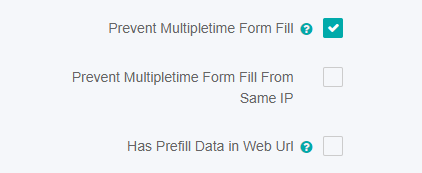
- Prevent multipletime Form Fill: This prevents form filling if the URL gets opened multiple times in the same browser session.
- Prevent multipletime Form Fill from Same IP: If the checkbox is enabled, will prevent any form filling if the survey form is opened again from the same IP address.
- Has Prefill Data in Web Url: Checkbox, if enabled, will prevent multiple time form filling based on already filled data on the server for prefill information.
- White List IP Addresses(s): IPV4 addresses can be input here. Please ensure that they are separated by either a new line, a comma, or a semicolon to enable access to this survey.
- Message On Access Outside of White List IP: Here a message can be typed out which will be shown when the user tries to access the survey from outside of white list IP Addresses.
- Allow Survey for Defined Duration: By enabling this checkbox, you can define the duration for which the survey link will remain active. This duration can be specified by selecting both a date and a time. Additionally, you can provide a custom message that will be displayed to respondents if they attempt to access the survey link outside of the allowed duration.
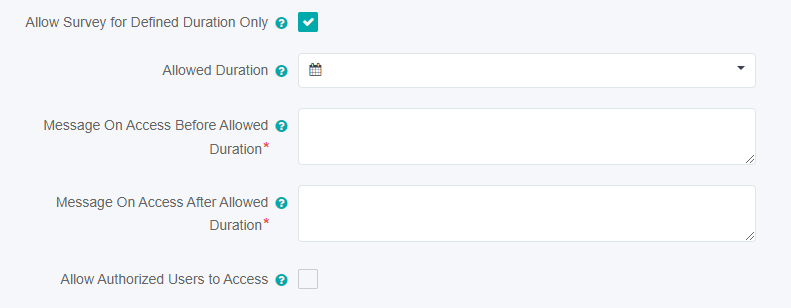
- Allow Authorized Users to Access: In its enabled state, this feature will grant access to the web link exclusively to users whose credentials are stored within the user section of the GoSurvey admin.
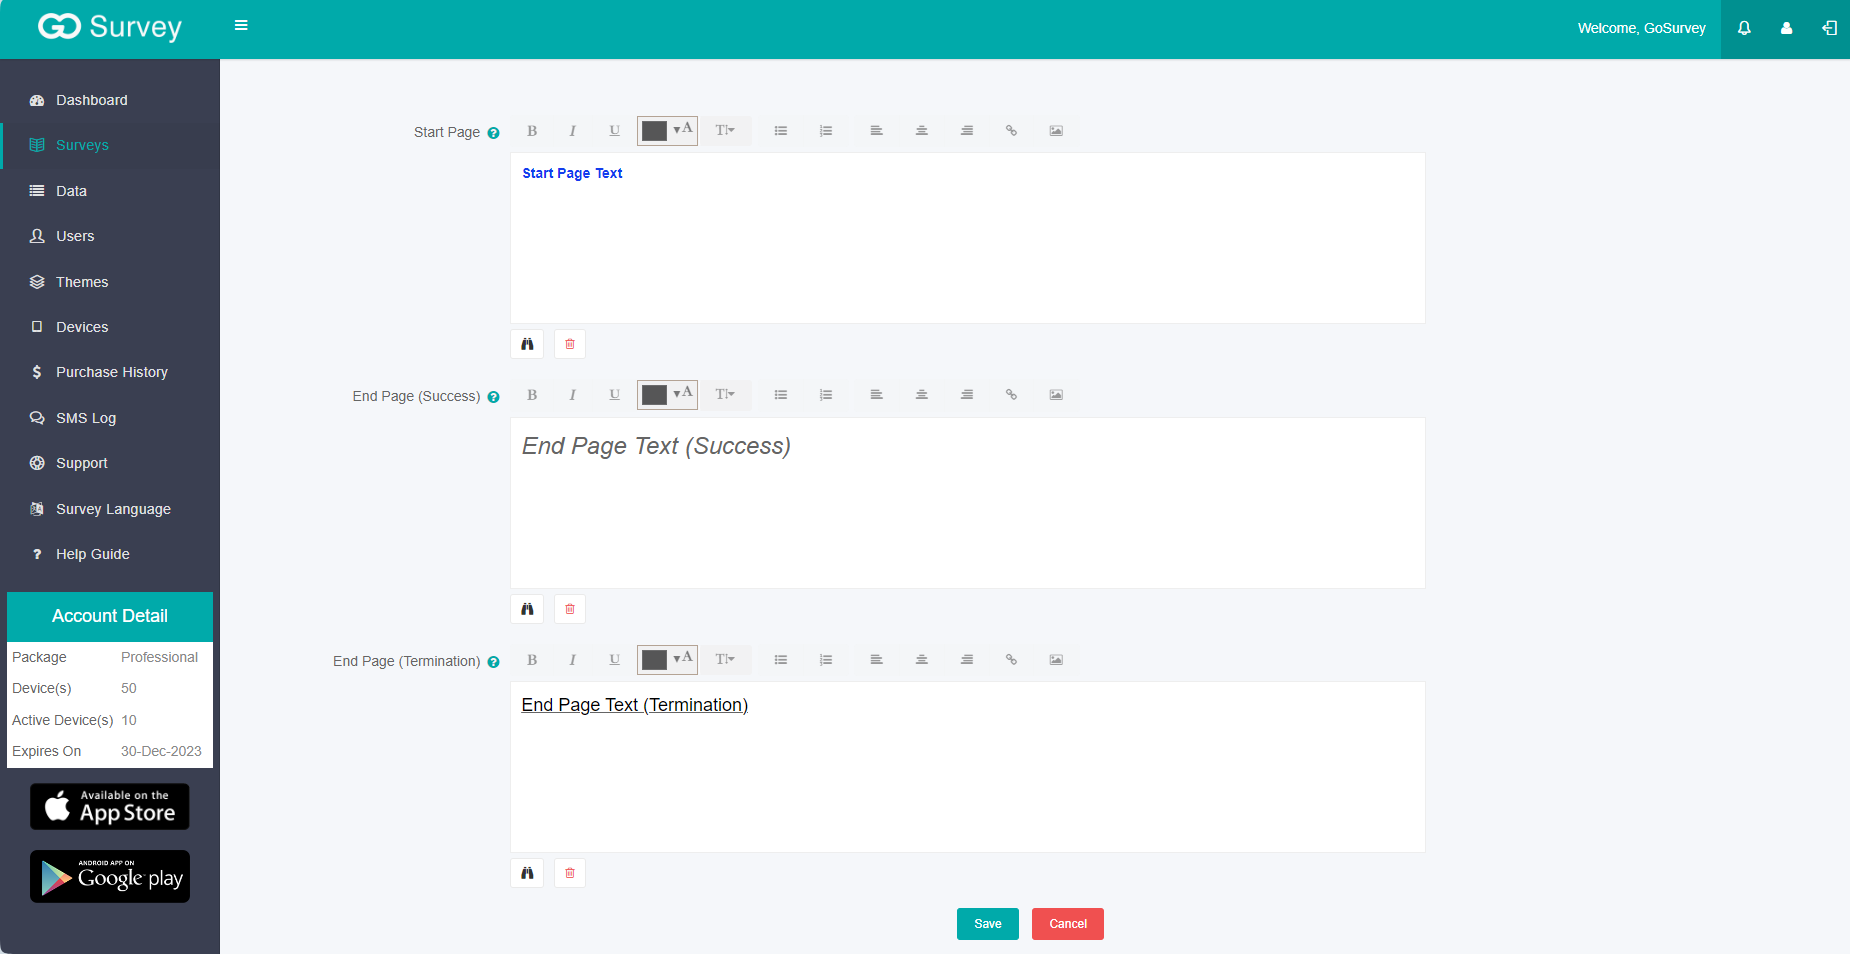
- Start Page The text, image, link, or video content specified here, using formatting options, will be displayed before the questionnaire starts. Note: Configuring this wouldn’t show any ‘Welcome Page’ image. This is only accessible under Web Surveys.
- End Page (Success)After completing the survey, the specified text/image/link/video content will be displayed on the Thank You screen instead of the Thank You image.
- End Page (Termination)If the survey is terminated, the specified content (text, image, link, or video) will be displayed as a message upon exiting the survey.
- Web URL This is the web URL for the survey. This URL can be shared with respondents to carry out the survey online. The Web URL can be opened in any web browser, may it be a desktop browser or a mobile device browser.
Step 6:
On clicking Save, it will create the survey with the provided details. If the user is creating a new survey, it will take the user to the questions screen, where one can add questions to the survey. Click here to know about the question types.
To add the questions, “double click” or “drag & drop” the question from the left panel to the blank screen present at the right of the question types list. Click here to know how to configure the questionnaire in detail.
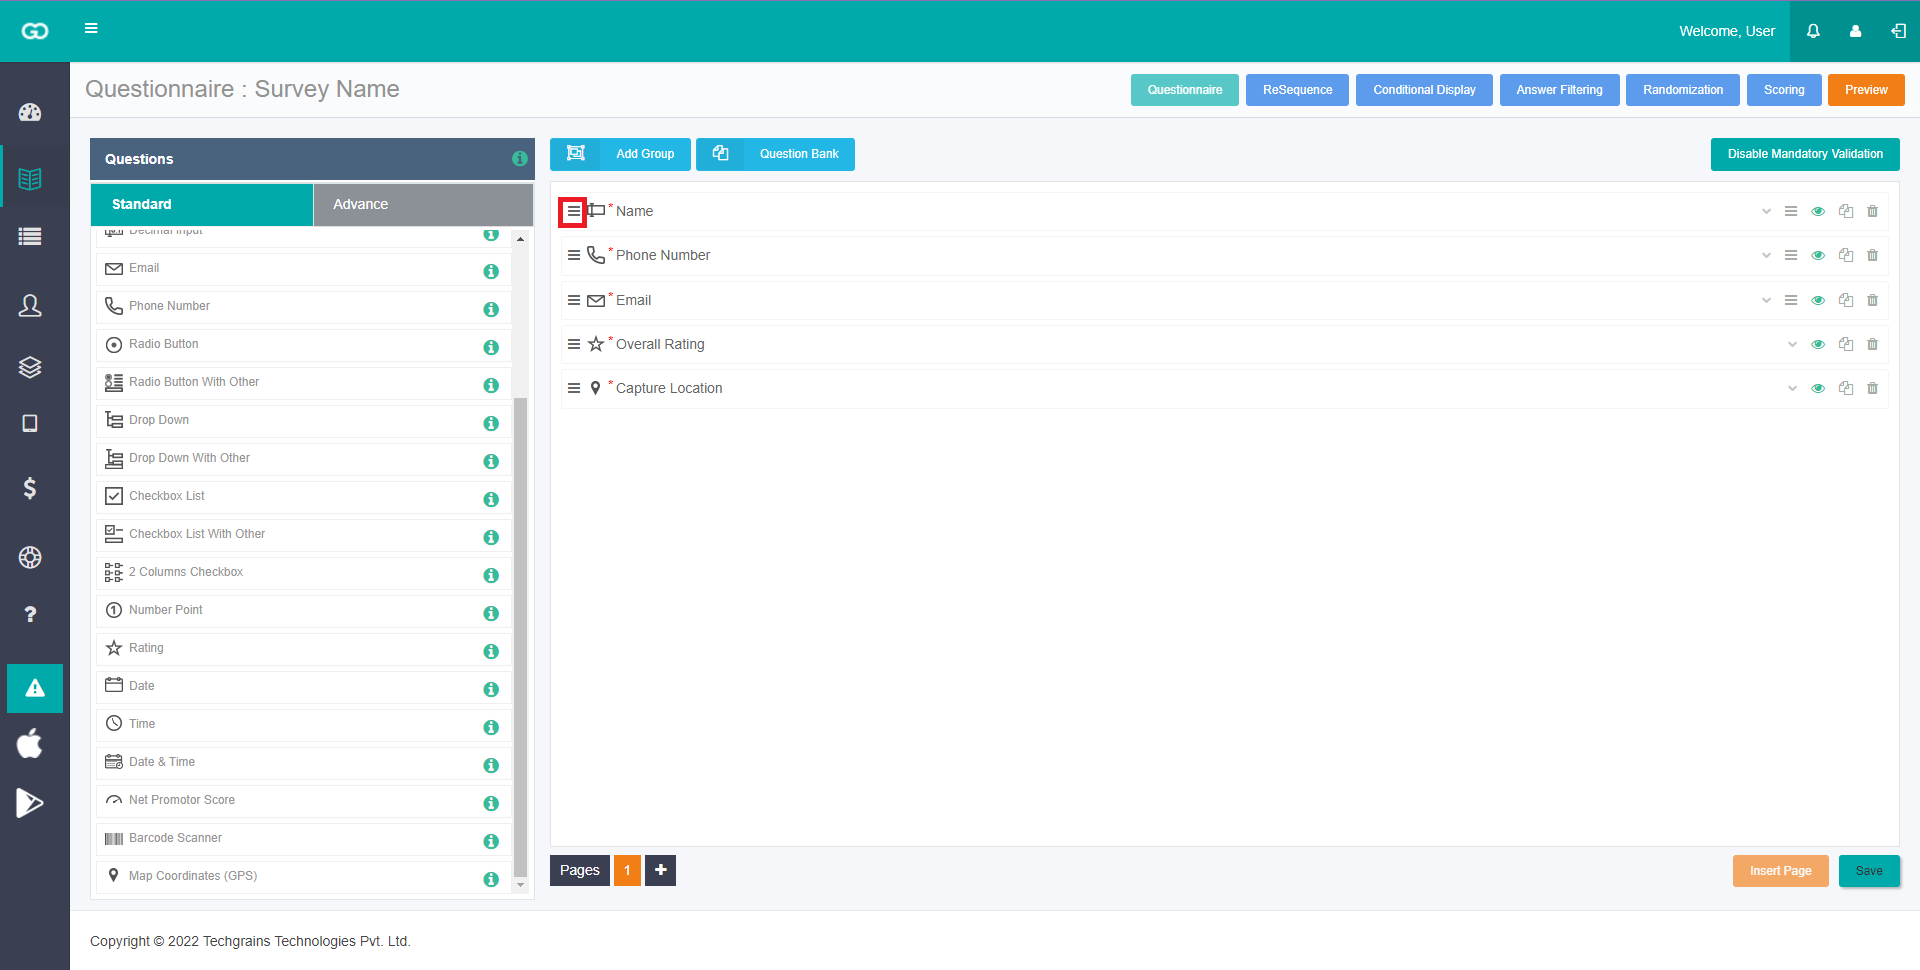
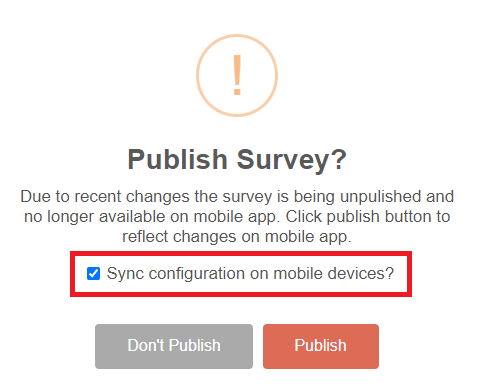
Once required questions have been added, click on Save and then Publish to make the survey available to fill in the data.
If it is an App Survey, on checking ‘Sync configuration on mobile devices?’, app users having access to this survey, will be asked to do Sync Configuration mandatorily in GoSurvey Mobile App.